Install Windows 8 from rusty 256 MB USB stick
Marco Franssen /
4 min read • 685 words

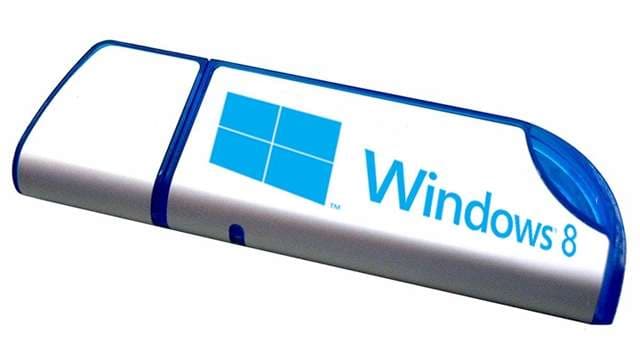
This is the fourth time I installed Windows 8. This time I installed it on my personal notebook instead of a VHD, because Windows 8 is finally ready to market. So I started with downloading the enterprise edition from my MSDN subscription. Unfortunately my USB drive died so I had no storage large enough to put the image on and boot from. So I started thinking to install it over the network. Luckily me I still had my rusty 10 year old 256MB USB drive which perfectly fits a Windows PE image. So I also downloaded the Windows 8 ADK to make a Windows PE boot image.
First install the Windows 8 ADK. Then open a command prompt and, key in the following commands to create a image.
mkdir c:\winpe_amd64
call copype.cmd amd64 c:\winpe_amd64
Makewinpemedia /ufd c:\winpe_amd64 F:
The first command makes a directory on your c: drive and can be removed afterwards. The second command creates all the necessary files for a 64 installation. The third command copies the files to your usb drive (in my case F:) and makes it bootable. If you need a 32 bit installation replace amd64 with x86.
Then create a share on a pc in your network and extract the contents of the Windows 8 iso to the network share. Make sure you configure the security to allow everyone to access it. Also make sure your firewall responds to ping commands, this comes in handy when trying to connect to the share. I created a share called Win8.
Now it is time to boot from the Windows PE image, which in my case is on a small rusty USB drive.
Make sure your pc is connected to the network with a cable because your wireless is not supported natively on a bare Windows PE image. If you really have to do it over wireless then you've to add wireless drivers to your image. You can probably find how to do it in the Windows ADK documentation.
So when booted you get a command prompt. First thing you have to do is set up a network connection with your shared folder. First we try to ping our computer that contains the share. Then we set up a connection to the share.
ping 192.168.0.10
net use z: \\192.168.0.10\Win8
The first commands checks if our computer is available on the network (Will only work if you enable ping in your firewall). The second command connects your share to the z: drive.
z:
dir
With the first command you navigate to the new created z: drive. When you key in the command dir you'll see your folder listed. You should see the file setup.exe. Now just execute it…
setup.exeYour Windows 8 installation will start. Within a few minutes you've installed Windows 8 and you are ready to go. There is only one thing left to do. Activate your product key. When you are having trouble to do so, you can use the following command on the command line. I got them from Gill Cleeren.
slmgr -ipk xxxxx-xxxxx-xxxxx-xxxxx-xxxxxJust replace the xxxx with your own key.
When having trouble to find your command line in Windows 8. Then just hit the key combination Windows+F select applications and type in command. (Windows+F) is the way to search through the different kinds of contents on your Windows 8 machine.
If you want to install it on Vhd or a virtual machine you can probably use one of my previous posts to do so.
- Install Windows 8 Consumer preview on vhd
- Install and boot Windows 8 from vhd
- Install Win 8 developer preview in your VirtualBox
Have fun using Windows 8.


