Build a Go Webserver on HTTP/2 using Letsencrypt
Marco Franssen
8 min read•1594 words

Loading...
Marco Franssen
Pretty often I see developers struggle with setting up a webserver running on https. Now some might argue, why to run a webserver on https during development? The reason for that is simple. If you would like to benefit from HTTP/2 features like server push, utilizing the http.Pusher interface, you will need to run your webserver on HTTP/2. That is the only way how you can very early on in the development process test this. In this blog I'm showing you how to do that in Go using Letsencrypt and a self-signed certificate when working offline.
In my previous blog I have already shown you how to use self-signed certificates in Nginx to use HTTP/2 features. I have also written a blog a long time ago on how to get a Letsencrypt certificate for your Azure website.
To retrieve a certificate with Letsencrypt your server has to be publicly reachable. Letsencrypt offers you genuine accepted certificates for free. In this blog I will show you how to build self-signed and Letsencrypt certificates into your Go webserver.
To start my development in my offline development machine we will first create a self-signed certificate.
mkdir -p certs
openssl req -x509 -nodes -days 365 -newkey rsa:2048 \
    -keyout certs/localhost.key -out certs/localhost.crt \
    -subj "/C=NL/ST=Limburg/L=Geleen/O=Marco Franssen/OU=Development/CN=localhost/emailAddress=marco.franssen@gmail.com"
Next we will write a small webserver utilizing this self signed certificate.
package main

import (
  "crypto/tls"
  "fmt"
  "net/http"
)

func main() {
  mux := http.NewServeMux()
  mux.HandleFunc("/", func(w http.ResponseWriter, r *http.Request) {
    fmt.Fprint(w, "Hello HTTP/2")
  })

  server := http.Server{
    Addr:    ":443",
    Handler: mux,
    TLSConfig: &tls.Config{
      NextProtos: []string{"h2", "http/1.1"},
    },
  }

  fmt.Printf("Server listening on %s", server.Addr)
  if err := server.ListenAndServeTLS("certs/localhost.crt", "certs/localhost.key"); err != nil {
    fmt.Println(err)
  }
}Time to give this a try.
go run .For Google Chrome to accept the selfsigned certificates please enable the option allow-insecure-localhost by navigating to in your address bar. You can also navigate to . At the bottom you can Allow the option Insecure Content to be able to use the selfsigned certificate.
To only allow for the current certificate that is blocked type thisisunsafe with focus on the Your connection is not private page, the page will autorefresh once the full phrase is typed. In older versions of Chrome you had to type badidea or danger.
Now when we run our server and navigate to https://localhost you will notice the Hello HTTP/2 message. When checking the network tab (protocol column) in the developer tools, you will also notice the page is served via HTTP/2.
If you would like to compare that with HTTP/1.1 you can simply run the server on port :80 without TLS. To do so add following line.
  go http.ListenAndServe(":80", mux)
  if err := server.ListenAndServeTLS("certs/localhost.crt", "certs/localhost.key"); err != nil {
    fmt.Println(err)
  }
Let us try this out.
go run .This will run the same handler on http://localhost. In the network tab you will see in the protocol column the page is now served via HTTP/1.1.
A best practice is to redirect http traffic to https. This improves the user experience, so the user doesn't have to think about typing https://, while we keep the safety of our server by serving over https.
We can simply achieve that by replacing the line we just added with the following.
go http.ListenAndServe(":80", http.HandlerFunc(redirectHTTP))At the top of main.go we will also add 2 new functions. The function redirectHTTP, used in previous Code sample and a small utility function stripPort.
import(
  "crypto/tls"
  "fmt"
  "net"
  "net/http"
)

func redirectHTTP(w http.ResponseWriter, r *http.Request) {
  if r.Method != "GET" && r.Method != "HEAD" {
    http.Error(w, "Use HTTPS", http.StatusBadRequest)
    return
  }
  target := "https://" + stripPort(r.Host) + r.URL.RequestURI()
  http.Redirect(w, r, target, http.StatusFound)
}

func stripPort(hostport string) string {
  host, _, err := net.SplitHostPort(hostport)
  if err != nil {
    return hostport
  }
  return net.JoinHostPort(host, "443")
}
Lets give these changes a try.
go run .Now when you navigate to http://localhost, you will automatically be redirected to https://localhost.
Great, so now we have this working, it is time to retrieve a valid certificate for production via Letsencrypt. This can be done using the golang.org/x/crypto/acme/autocert package. All that is required to retrieve a certificate via autocert is the following few lines of code.
  certManager := autocert.Manager{
    Prompt:     autocert.AcceptTOS,
    HostPolicy: autocert.HostWhitelist(domain),
    Cache:      autocert.DirCache("certs"),
  }

  tlsConfig := certManager.TLSConfig()
  server := http.Server{
    Addr:    ":443",
    Handler: mux,
    TLSConfig: tlsConfig,
  }
We will also need to provide one or multiple domains for the HostPolicy for which certificate requests are allowed. With following few lines of code I allow to set the domain via the commandline when starting the server.
var (
  domain string
)

func main() {
  flag.StringVar(&domain, "domain", "", "domain name to request your certificate")
  flag.Parse()

  // left for brevity
}
When we run our server we can provide the domain name via this flag. Ofcourse you will have to ensure your server is publicly accesible in order for Letsencrypt to provide us the certificate. So if working from home ensure you configure port 80 and 443 to be forwarded to your laptop's IP in your router. Also ensure you have created the DNS entry for mydomain.com pointing to your home outbound ip. Otherwise it simply won't work.
go run . -domain mydomain.comNow when we would like to run the server using https://localhost you will notice it fails as Letsencrypt does not consider this a valid domain name, and therefore is not able to request a certificate for that. Also imagine you are traveling and simply can't make the server publicly available, also then you want to be able to continue your development on localhost. Therefore we will customize the GetCertificate function, by first trying to find an existing selfsigned certificate.
func getSelfSignedOrLetsEncryptCert(certManager *autocert.Manager) func(hello *tls.ClientHelloInfo) (*tls.Certificate, error) {
  return func(hello *tls.ClientHelloInfo) (*tls.Certificate, error) {
    dirCache, ok := certManager.Cache.(autocert.DirCache)
    if !ok {
      dirCache = "certs"
    }

    keyFile := filepath.Join(string(dirCache), hello.ServerName+".key")
    crtFile := filepath.Join(string(dirCache), hello.ServerName+".crt")
    certificate, err := tls.LoadX509KeyPair(crtFile, keyFile)
    if err != nil {
      fmt.Printf("%s\nFalling back to Letsencrypt\n", err)
      return certManager.GetCertificate(hello)
    }
    fmt.Println("Loaded selfsigned certificate.")
    return &certificate, err
  }
}
This function simply looks inside the configured certs directory if a .key and .crt file exists and uses that if it exists, otherwise it will try to get one via Letsencrypt.
To use this function we simply add following line of code.
  // left for brevity
  tlsConfig := certManager.TLSConfig()
  tlsConfig.GetCertificate = getSelfSignedOrLetsEncryptCert(&certManager)
  // left for brevity
Now you can test this approach with different certificates by generating another one for a custom domain.
openssl req -x509 -nodes -days 365 -newkey rsa:2048 \
    -keyout certs/dev.local.io.key -out certs/dev.local.io.crt \
    -subj "/C=NL/ST=Limburg/L=Geleen/O=Marco Franssen/OU=Development/CN=dev.local.io/emailAddress=marco.franssen@gmail.com"
Also ensure to update your hosts file.
127.0.0.1 localhost dev.local.ioNow run the solution as following.
go run . -domain dev.local.io
# or
go build .
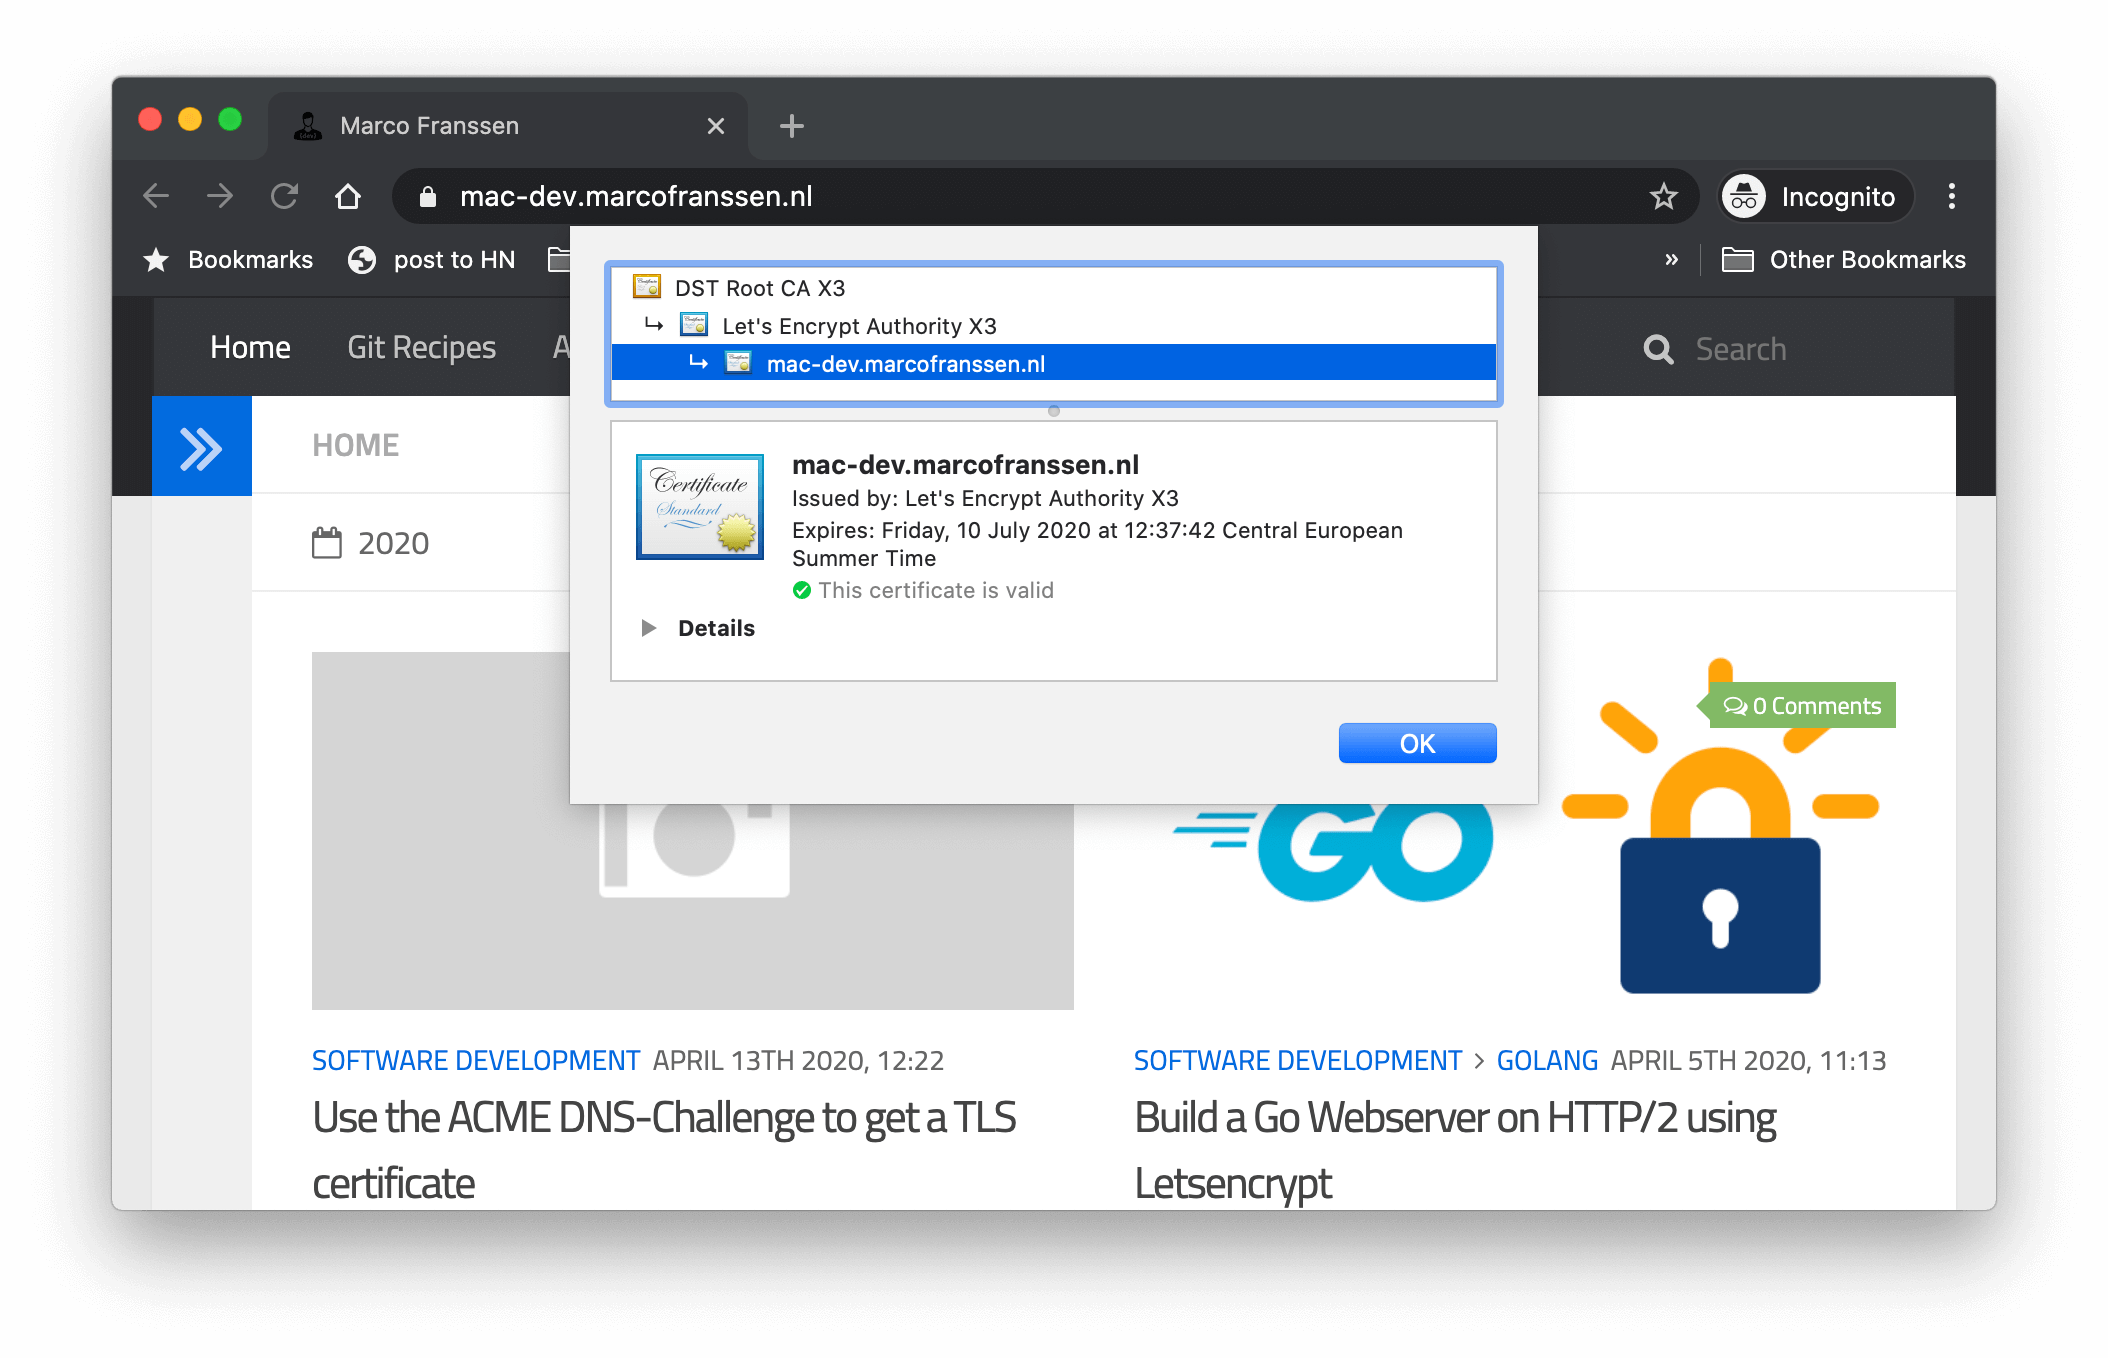
./go-web-letsencrypt -domain dev.local.ioWhen requesting http://dev.local.io you will notice the redirect to https://dev.local.io is still working and the self-signed certificate is used. Same applies for the earlier created certificate for https://localhost.
Now you have a HTTP/2 capable server, you will be able to use Go's http.Pusher.
To summarize the full solution you can find in the next code block the final code of this blog.
Loading go-web-letsencrypt/main.go…
In general, for development you can simply use self-signed certificates for https://localhost or any custom domain like https://dev.local.io. This enables to work in an offline environment, or a environment which you simply can't expose to the public internet.
openssl req -x509 -nodes -days 365 -newkey rsa:2048 \
    -keyout certs/dev.local.io.key -out certs/dev.local.io.crt \
    -subj "/C=NL/ST=Limburg/L=Geleen/O=Marco Franssen/OU=Development/CN=dev.local.io/emailAddress=marco.franssen@gmail.com"
openssl req -x509 -nodes -days 365 -newkey rsa:2048 \
    -keyout certs/localhost.key -out certs/localhost.crt \
    -subj "/C=NL/ST=Limburg/L=Geleen/O=Marco Franssen/OU=Development/CN=localhost/emailAddress=marco.franssen@gmail.com"
Ensure custom domains are added to your /etc/hosts file.
127.0.0.1 localhost dev.local.ioOnce you have your certificates you can simply run the server as following.
go run . -domain localhost
# or
go run . -domain dev.local.io
# or
go build .
./go-web-letsencrypt -domain localhost
# or
./go-web-letsencrypt -domain dev.local.io
Now simply navigate to http://localhost or http://dev.local.io.
For production it is really simple. Just host the solution on a publicly available endpoint. Don't create a self-signed certificate for this domain. Ensure your DNS record points to the correct outbound IP. Ensure port 80 and 443 are forewarded to the server running the webserver.
Then simply launch the server.
go run . -domain fictional-domain.marcofranssen.nl
# or
go build .
./go-web-letsencrypt -domain fictional-domain.marcofranssen.nl
Now you have a HTTP/2 capable server, you will be able to use Go's http.Pusher.
Also consider adding Graceful shutdown to your server.
Please share this blog with your friends. Looking forward to your feedback. Hope to see you back next time.
Marco Franssen
In a previous blog I have written on setting up Elasticsearch in docker-compose.yml already. I have also shown you before how to setup Traefik 1.7 in docker-compose.yml. Today I want to show you how we can use Traefik to expose a loadbalanced endpoint on top of a Elasticsearch cluster. Simplify networking complexity while designing, deploying, and running applications. We will setup our cluster using docker-compose so we can easily run and cleanup this cluster from our laptop. Create a Elasti…
Marco Franssen
In my previous 2 blogs I have shown you how to build a HTTP/2 webserver. In these blogs we have covered self signed TLS certificates as well retrieving a Certificate via Letsencrypt. I mentioned there you will have to expose your server publicly on the internet. However I now figured out there is another way. So please continue reading. Let's Encrypt is a free, automated, and open certificate authority brought to you by the nonprofit Internet Security Research Group (ISRG). Letsencrypt impleme…
Marco Franssen
In this blogpost I want to show you how you can easily get your React SPA app with clientside router work properly with your Nginx setup. I will also show you how to serve your React App over HTTP/2 and how you can leverage from http2 server pushes. To do so I will show you how to do that with the Nginx Docker image. When running your webapp using the development server you will in general not face any issues, however when running the static build on a production server you will most likely fac…

Marco Franssen
In this blog I want to introduce you to the concept of signing Docker images. Signing your docker images will add some layer of trust to your images. This can guarantee a consumer of your image that this image is for sure published by you and hasn't been tampered with by others. You might already used PGP to sign your Git commits. In this blogpost I shown a nice way of setting PGP signing keys using Krypton that adds 2FA. In practice Docker image signing is the same concept. If this all sounds…
package main

import (
	"crypto/tls"
	"flag"
	"fmt"
	"net/http"
	"path/filepath"

	"golang.org/x/crypto/acme/autocert"
)

var (
	domain string
)

func getSelfSignedOrLetsEncryptCert(certManager *autocert.Manager) func(hello *tls.ClientHelloInfo) (*tls.Certificate, error) {
	return func(hello *tls.ClientHelloInfo) (*tls.Certificate, error) {
		dirCache, ok := certManager.Cache.(autocert.DirCache)
		if !ok {
			dirCache = "certs"
		}

		keyFile := filepath.Join(string(dirCache), hello.ServerName+".key")
		crtFile := filepath.Join(string(dirCache), hello.ServerName+".crt")
		certificate, err := tls.LoadX509KeyPair(crtFile, keyFile)
		if err != nil {
			fmt.Printf("%s\nFalling back to Letsencrypt\n", err)
			return certManager.GetCertificate(hello)
		}
		fmt.Println("Loaded selfsigned certificate.")
		return &certificate, err
	}
}

func main() {
	flag.StringVar(&domain, "domain", "", "domain name to request your certificate")
	flag.Parse()

	mux := http.NewServeMux()
	mux.HandleFunc("/", func(w http.ResponseWriter, r *http.Request) {
		fmt.Fprint(w, "Hello HTTP/2")
	})

	fmt.Println("TLS domain", domain)
	certManager := autocert.Manager{
		Prompt:     autocert.AcceptTOS,
		HostPolicy: autocert.HostWhitelist(domain),
		Cache:      autocert.DirCache("certs"),
	}

	tlsConfig := certManager.TLSConfig()
	tlsConfig.GetCertificate = getSelfSignedOrLetsEncryptCert(&certManager)
	server := http.Server{
		Addr:      ":443",
		Handler:   mux,
		TLSConfig: tlsConfig,
	}

	go http.ListenAndServe(":80", certManager.HTTPHandler(nil))
	fmt.Println("Server listening on", server.Addr)
	if err := server.ListenAndServeTLS("", ""); err != nil {
		fmt.Println(err)
	}
}