React Router and Nginx over HTTP/2
Marco Franssen
10 min read•1834 words
Loading...
Marco Franssen
In this blogpost I want to show you how you can easily get your React SPA app with clientside router work properly with your Nginx setup. I will also show you how to serve your React App over HTTP/2 and how you can leverage from http2 server pushes. To do so I will show you how to do that with the Nginx Docker image.
When running your webapp using the development server you will in general not face any issues, however when running the static build on a production server you will most likely face some issues. E.g. If you use React Router with a route for /todo/42 your webserver will be looking for a file called /build/todo/42 which can't be found. Therefore we will need to direct our webserver to the index.html.
When using Nginx Docker image with the default configuration you will figure that you will get 404 responses as soon you reach a page navigated by the clientside React router. We will explore further on how to resolve that and how to add some performance tuning as well.
First we will create a new React SPA using Create React App. We will also add the react-router-dom package to be able to reproduce the issue you will face when hosting with default Nginx setup.
# using yarn
yarn create react-app react-router-nginx-http2
# using npm/npx
nxp create-react-app react-router-nginx-http2
Lets start our app using the development server to have a look how it looks like.
# using yarn
yarn start
# using npm
npm run startNow we have a basic React application in place we can add the React router.
# using yarn
yarn add react-router-dom
# using npm
npm install --save react-router-dom
Now we will also update the code in src/App.js to use the react-router-dom package, so we can reproduce the issue when hosting this app in Nginx.
Loading react-router-nginx-http2/src/App.js…
In this example I have just added 2 links utilizing the React router. Each of them show a different Header text.
Now with the development server still running you can now navigate to both http://localhost:3000/ and you will notice all works as expected.
Now we can add our setup for Nginx and Docker to run our app from a Nginx Docker container. I always prefer to add a docker-compose.yml as it simplifies running my application.
version: "3.7"

services:
  frontend:
    image: nginx:alpine
    ports:
      - "5000:80"
    volumes:
      - ./build:/usr/share/nginx/html:ro
In this example you see we make a volume mount on the static build of our React App in the Nginx webserver root. This helps us a lot in development so we can just have the files served without relaunching the container.
Now let us run this Docker container to see the issue I described in the beginning of this blogpost.
yarn build
docker-compose up
Navigate to any of the pages in your webbrowser by clicking any of the links in your React App. As you can see, so far all works as expected. However if you now refresh the page at http://localhost:5000/about it will fail with a 404 Not Found. On Nginx there is no such file to be served. This page only exists clientside inside your React router.
We can resolve that by changing the Nginx configuration. To do so we will replace the default server configuration in our Nginx container.
server {
    listen       80;
    server_name  localhost;

    location / {
        root   /usr/share/nginx/html;
        index  index.html index.htm;
        try_files $uri $uri/ /index.html;
    }

    #error_page  404              /404.html;

    # redirect server error pages to the static page /50x.html
    #
    error_page   500 502 503 504  /50x.html;
    location = /50x.html {
        root   /usr/share/nginx/html;
    }
}
The configuration which will make it work is the try_files line. This will try to serve any file requested or fallback to index.html. In index.html we have our React code running that takes care of navigating the different pages client-side.
To use this configuration in our docker image we can simply mount it as a volume to the image.
version: "3.7"

services:
  frontend:
    image: nginx:alpine
    ports:
      - "5000:80"
    volumes:
      - ./build:/usr/share/nginx/html:ro
      - ./nginx/conf.d:/etc/nginx/conf.d:ro
Of course you could also build your own Docker image which contains the Nginx configuration and your app assets.
FROM node:13-alpine AS build
COPY package.json yarn.lock ./
RUN yarn
COPY public ./public
COPY src ./src
RUN yarn build

FROM nginx:alpine
COPY nginx/default.conf /etc/nginx/conf.d/default.conf
COPY --from=certs certs /usr/share/nginx/certs
COPY --from=build build /usr/share/nginx/html
With this Dockerfile we are using a Multi stage build that utilizes the Node 13 image to build our static webpage and then we build our Nginx container containing the Nginx configuration and the static assets. Using a multi-stage Dockerfile we limit the size of the image, by leaving all the NodeJS dependencies as well the source files out of the production Nginx container.
docker build -t react-router-nginx-http2 .
docker run -p "5000:80" react-router-nginx-http2
As you can see we can now use the Nginx image as an immutable artifact without mounting volumes or changing things at runtime.
Also see the following docker-compose.yml showcasing how we can easily build and run this image using docker-compose.
version: "3.7"

services:
  frontend:
    image: react-router-nginx-http2
    build: .
    ports:
      - "5000:80"
docker-compose up --buildThis builds the image, start the container and maps port 5000 to port 80 of your container.
Since the arrival of HTTP/2 we can also push artifacts from the serer to the browser. This will reduce the page load time drastically as the DOM doesn't have to be parsed to search for the images, stylesheets and javascript before it will be downloaded. Therefore with HTTP/2 we can push the most important assets already to the browser, before the browser requests them. In terms of our React app this would be our javascript bundles and our styles.
To be able to use HTTP/2, an SSL certificate is mandatory. So lets first generate a selfsigned SSL certificate. For this you will need openssl installed. Don't worry if you don't have it, further on I will show you how to do this within the Dockerfile.
mkdir certs
openssl req -x509 -nodes -days 365 -newkey rsa:2048 \
    -keyout certs/localhost.key -out certs/localhost.crt -config selfsigned-cert.conf
This will use selfsigned-cert.conf to do this unattended without any prompts for details.
Loading react-router-nginx-http2/selfsigned-cert.conf…
In the Dockerfile I have included this step to generate the certs automatically on building the Docker image.
Loading react-router-nginx-http2/Dockerfile…
Once we have an SSL certificate we simply update our server configuration to serve as HTTP/2 over TLS.
server {
    listen              443 ssl http2;
    ssl_certificate     /etc/ssl/certs/localhost.crt;
    ssl_certificate_key /etc/ssl/private/localhost.key;
}
With all of that in place we can test again and see if our webpage is served over HTTP/2. The last step is to also push the initial dependencies for our index.html. This can be done as following. Simply check the index.html to see which javascripts, stylesheets and images are requested.
location / {
    http2_push "manifest.json"
    http2_push "favicon.ico"
}
Feel free to add more lines yourself. Now it is probably time to check out the changes. docker-compose up --build and navigate to https://localhost. Open the developer tools of your browser and you will notice in the network tab which assets are pushed via HTTP/2 server push (Initiator column). Also compare the same on http://localhost:5000 which is not running on HTTP/2 and therefore not able to do the server side push.
Now there are way more things you could do to improve the performance, like gzipping and tweaking Nginx worker processes. On this already many blogposts are written, so I am not going to repeat that over here. These will also require you to more closely analyze the specifics of your application. You will have to find the sweet spot on when to gzip and when not. Some tool to help you analyse the performance of your web application from the browser is Lighthouse on which I have written before. In the references at the end of this blog I included some Nginx tweaking articles.
Tryout Lighthouse to see if you could make some small improvements performance wise to the current setup. E.g. Caching of your assets.
Now it is also good to check some security bits and pieces. You can use www.ssllabs.com to check your SSL settings. E.g. Configure the SSL protocols and SSL ciphers. Give the scan with SSL Labs a try and see for yourself to reach your desired level of security. I always opt for a minimum of an A rating and then try to optimize for A+.
Then you could also check with securityheaders.com to secure some other aspects of web applications like CORS policies etc. There are many resources available on how to apply the settings so I won't go in detail in this blog on how to apply those.
Both I leave out of scope for this blog, but never the less I find it important to mention so you can ensure this will be handled by you properly.
For everyone who reached this point you might want to bookmark the TL;DR for future reference. So you can download the full example here.
See below the most important files we worked on:
We modified the default App.js to utilize the React router package.
Loading react-router-nginx-http2/src/App.js…
The Dockerfile creates a selfsigned certificate, builds your React application and hosts it in Nginx.
Loading react-router-nginx-http2/Dockerfile…
The docker-compose.yml file simplifies using your Docker image using a more convenient commandline.
Loading react-router-nginx-http2/docker-compose.yml…
Provides the paramaters for openssl to generate the selfsigned certificate.
Loading react-router-nginx-http2/selfsigned-cert.conf…
Holds the Nginx webserver configuration running as HTTP/2, including the server side push of important assets.
Loading react-router-nginx-http2/nginx/conf.d/default.conf…
Following 2 resources highlight some caveats:
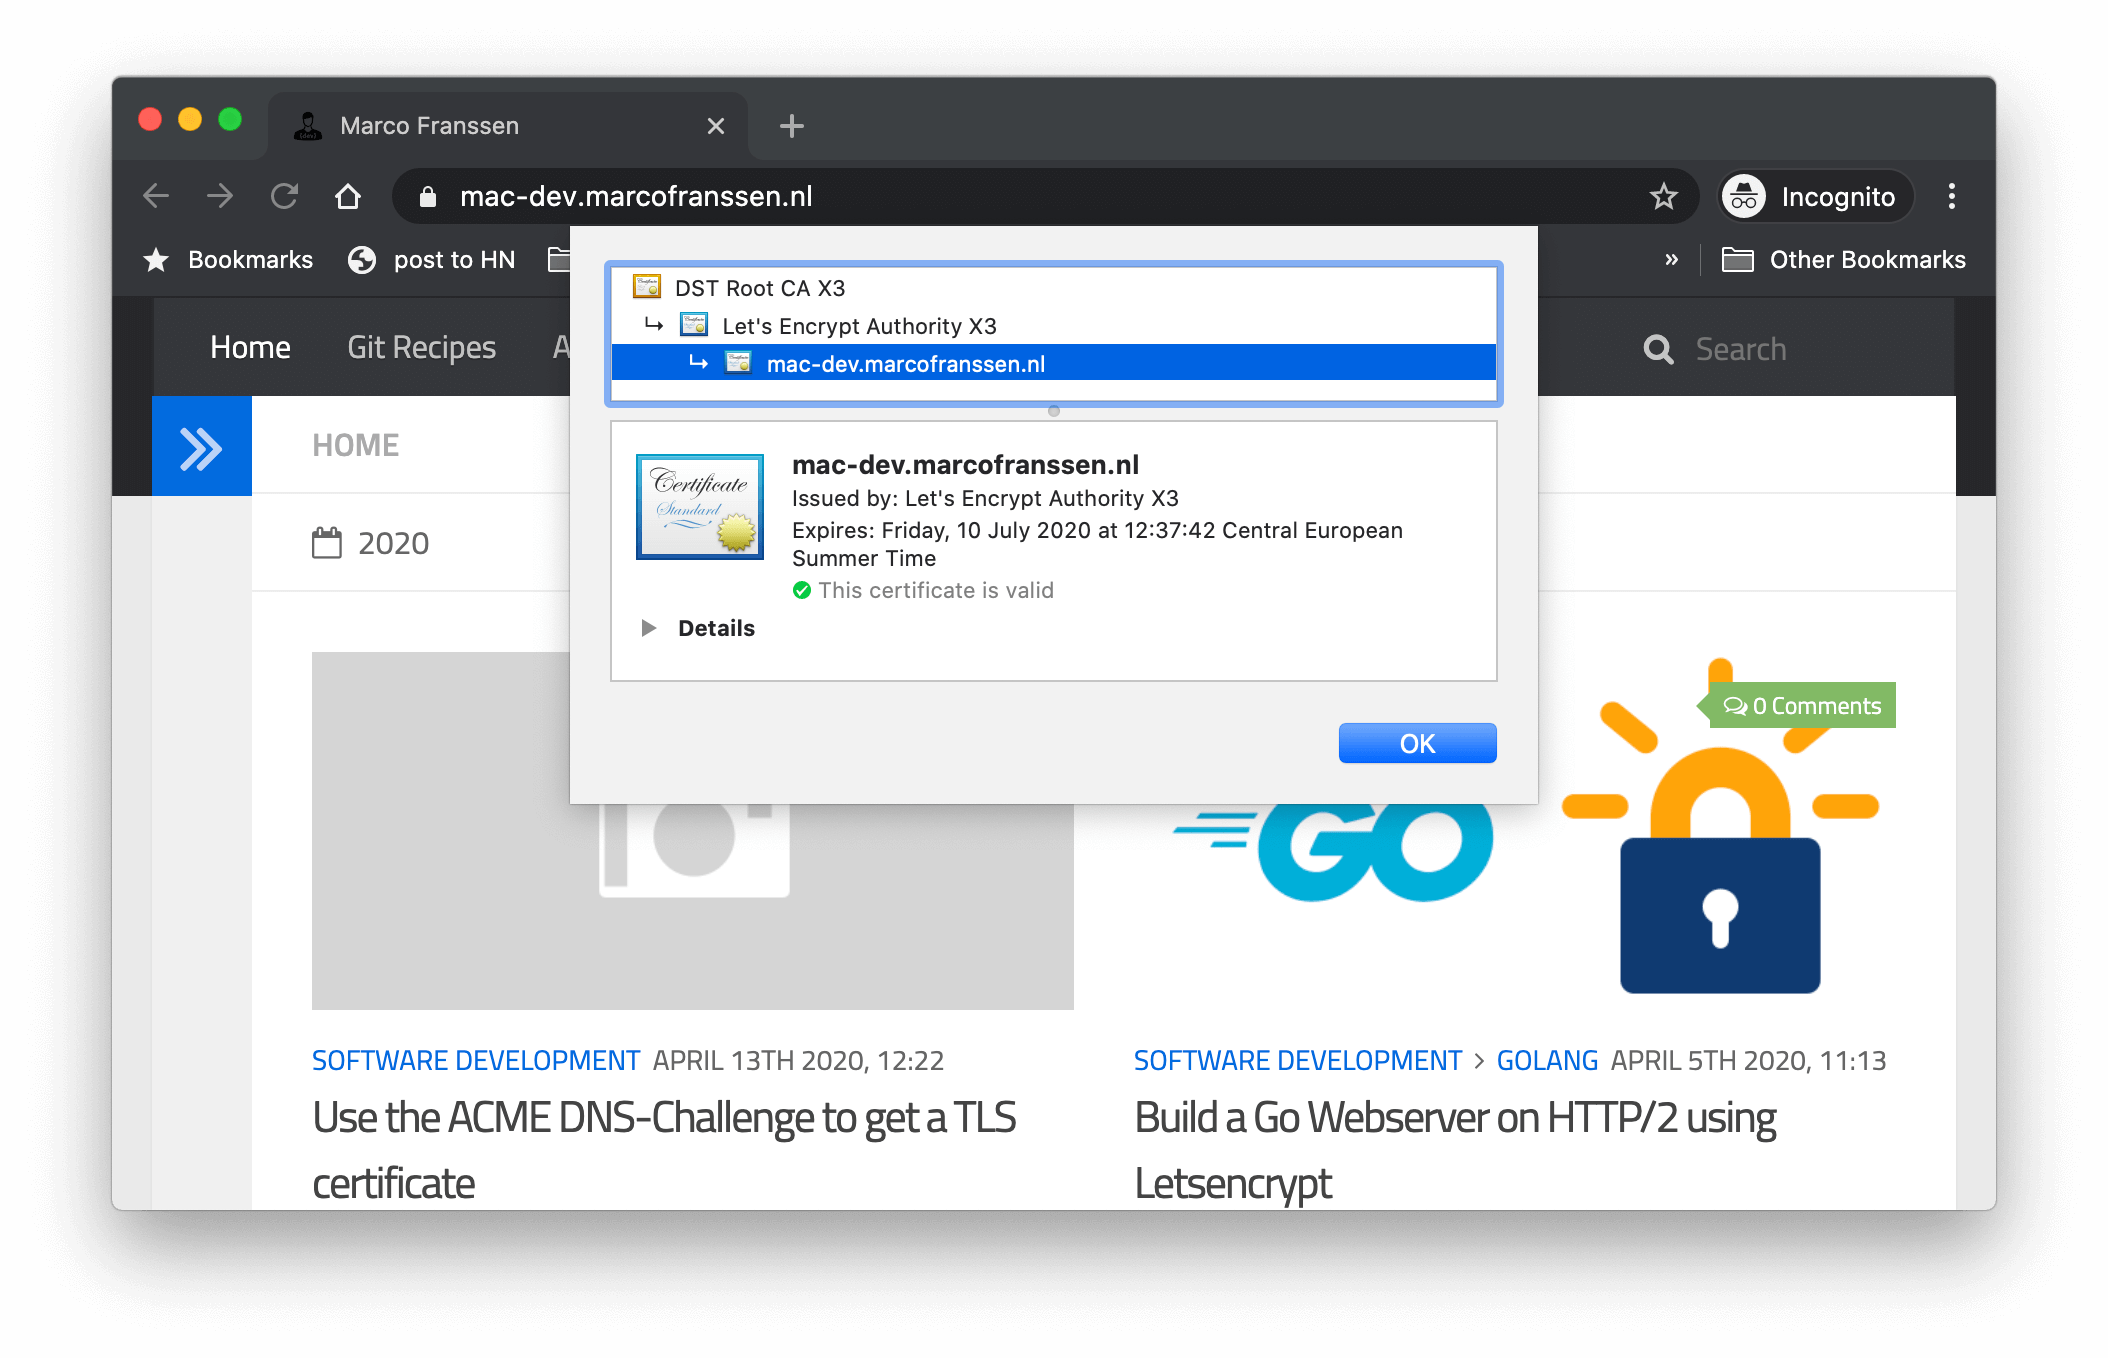
I hope you enjoyed this blog. For your production webservers I can also recommend Letsencrypt certificates which won't cost you a single Penny but will bring you the security layer and capability to use HTTP/2. Please see my other blogs on Letsencrypt.
Marco Franssen
In my previous 2 blogs I have shown you how to build a HTTP/2 webserver. In these blogs we have covered self signed TLS certificates as well retrieving a Certificate via Letsencrypt. I mentioned there you will have to expose your server publicly on the internet. However I now figured out there is another way. So please continue reading. Let's Encrypt is a free, automated, and open certificate authority brought to you by the nonprofit Internet Security Research Group (ISRG). Letsencrypt impleme…

Marco Franssen
Pretty often I see developers struggle with setting up a webserver running on https. Now some might argue, why to run a webserver on https during development? The reason for that is simple. If you would like to benefit from HTTP/2 features like server push, utilizing the http.Pusher interface, you will need to run your webserver on HTTP/2. That is the only way how you can very early on in the development process test this. In this blog I'm showing you how to do that in Go using Letsencrypt and a…

Marco Franssen
In this blog I want to introduce you to the concept of signing Docker images. Signing your docker images will add some layer of trust to your images. This can guarantee a consumer of your image that this image is for sure published by you and hasn't been tampered with by others. You might already used PGP to sign your Git commits. In this blogpost I shown a nice way of setting PGP signing keys using Krypton that adds 2FA. In practice Docker image signing is the same concept. If this all sounds…

Marco Franssen
In this blogpost I want to show you how easy it is to setup SSH and PGP key securily without even having them on your laptop. Instead we will have those keys on our mobile device. Yes, I hear you thinking…. Wutt, but, but, but, whaat! No worries bear with me, I walk you through it an will even explain you some magic behind the Krypton commands which we are about to use, so you will have a fully transparant understanding on Krypton. First of all you shouldn't worry about the safety of your keys…
import React from "react";
import { BrowserRouter as Router, Switch, Route, Link } from "react-router-dom";
import logo from "./logo.svg";
import "./App.css";

function App() {
  return (
    <Router>
      <div className="App">
        <header className="App-header">
          <nav>
            <ul>
              <li>
                <Link to="/" className="App-link">
                  Home
                </Link>
              </li>
              <li>
                <Link to="/about" className="App-link">
                  About
                </Link>
              </li>
            </ul>
          </nav>

          <Switch>
            <Route path="/about">
              <About />
            </Route>
            <Route path="/">
              <Home />
            </Route>
          </Switch>
          <img src={logo} className="App-logo" alt="logo" />
          <p>
            Edit <code>src/App.js</code> and save to reload.
          </p>
          <a
            className="App-link"
            href="https://reactjs.org"
            target="_blank"
            rel="noopener noreferrer"
          >
            Learn React
          </a>
        </header>
      </div>
    </Router>
  );
}

function Home() {
  return <h2>Home</h2>;
}

function About() {
  return <h2>About</h2>;
}

export default App;
[req]
default_bits       = 2048
default_keyfile    = localhost.key
distinguished_name = req_distinguished_name
req_extensions     = req_ext
x509_extensions    = v3_ca
prompt             = no

[req_distinguished_name]
C            = NL
ST           = Limburg
L            = Geleen
O            = Marco Franssen
OU           = Development
CN           = localhost
emailAddress = marco.franssen@email.addr

[req_ext]
subjectAltName = @alt_names

[v3_ca]
subjectAltName = @alt_names

[alt_names]
DNS.1   = localhost
DNS.2   = 127.0.0.1
FROM alpine as certs
RUN apk update && apk add openssl
COPY selfsigned-cert.conf .
RUN mkdir certs && openssl req -x509 -nodes -days 365 -newkey rsa:2048 \
    -keyout certs/localhost.key -out certs/localhost.crt -config selfsigned-cert.conf

FROM node:13-alpine AS build
COPY package.json yarn.lock ./
RUN yarn
COPY public ./public
COPY src ./src
RUN yarn build

FROM nginx:alpine
COPY nginx/conf.d/default.conf /etc/nginx/conf.d/default.conf
COPY --from=certs certs /usr/share/nginx/certs
COPY --from=build build /usr/share/nginx/html
import React from "react";
import { BrowserRouter as Router, Switch, Route, Link } from "react-router-dom";
import logo from "./logo.svg";
import "./App.css";

function App() {
  return (
    <Router>
      <div className="App">
        <header className="App-header">
          <nav>
            <ul>
              <li>
                <Link to="/" className="App-link">
                  Home
                </Link>
              </li>
              <li>
                <Link to="/about" className="App-link">
                  About
                </Link>
              </li>
            </ul>
          </nav>

          <Switch>
            <Route path="/about">
              <About />
            </Route>
            <Route path="/">
              <Home />
            </Route>
          </Switch>
          <img src={logo} className="App-logo" alt="logo" />
          <p>
            Edit <code>src/App.js</code> and save to reload.
          </p>
          <a
            className="App-link"
            href="https://reactjs.org"
            target="_blank"
            rel="noopener noreferrer"
          >
            Learn React
          </a>
        </header>
      </div>
    </Router>
  );
}

function Home() {
  return <h2>Home</h2>;
}

function About() {
  return <h2>About</h2>;
}

export default App;
FROM alpine as certs
RUN apk update && apk add openssl
COPY selfsigned-cert.conf .
RUN mkdir certs && openssl req -x509 -nodes -days 365 -newkey rsa:2048 \
    -keyout certs/localhost.key -out certs/localhost.crt -config selfsigned-cert.conf

FROM node:13-alpine AS build
COPY package.json yarn.lock ./
RUN yarn
COPY public ./public
COPY src ./src
RUN yarn build

FROM nginx:alpine
COPY nginx/conf.d/default.conf /etc/nginx/conf.d/default.conf
COPY --from=certs certs /usr/share/nginx/certs
COPY --from=build build /usr/share/nginx/html
version: '3.7'

services:
  frontend:
    image: react-router-nginx-demo
    build: .
    ports:
      - "5000:80"
      - "443:443"
    # Uncomment the volumes to easily test changes in development
    # volumes:
    #   - ./build:/usr/share/nginx/html:ro
    #   - ./nginx/conf.d:/etc/nginx/conf.d:ro
[req]
default_bits       = 2048
default_keyfile    = localhost.key
distinguished_name = req_distinguished_name
req_extensions     = req_ext
x509_extensions    = v3_ca
prompt             = no

[req_distinguished_name]
C            = NL
ST           = Limburg
L            = Geleen
O            = Marco Franssen
OU           = Development
CN           = localhost
emailAddress = marco.franssen@email.addr

[req_ext]
subjectAltName = @alt_names

[v3_ca]
subjectAltName = @alt_names

[alt_names]
DNS.1   = localhost
DNS.2   = 127.0.0.1
server {
    listen              80;
    listen              443 ssl http2;
    listen              [::]:443 ssl http2;
    ssl_certificate     /usr/share/nginx/certs/localhost.crt;
    ssl_certificate_key /usr/share/nginx/certs/localhost.key;
    server_name         localhost;

    location / {
        root        /usr/share/nginx/html;

        http2_push  /static/css/main.5f361e03.chunk.css;
        http2_push  /static/js/2.09673864.chunk.js;
        http2_push  /static/js/main.ee4bd490.chunk.js;
        http2_push  /static/media/logo.5d5d9eef.svg;
        http2_push  /manifest.json;
        http2_push  /favicon.ico;
        http2_push  /logo192.png;

        index       index.html index.htm;
        try_files   $uri $uri/ /index.html;
    }

    #error_page  404              /404.html;

    # redirect server error pages to the static page /50x.html
    #
    error_page   500 502 503 504  /50x.html;
    location = /50x.html {
        root   /usr/share/nginx/html;
    }
}